Defend Bunker from Zombies How to Survive the Night Waves
Stop dying to preventable breaches — roles, callouts, and wave-by-wave priorities for Roblox squads and solos.
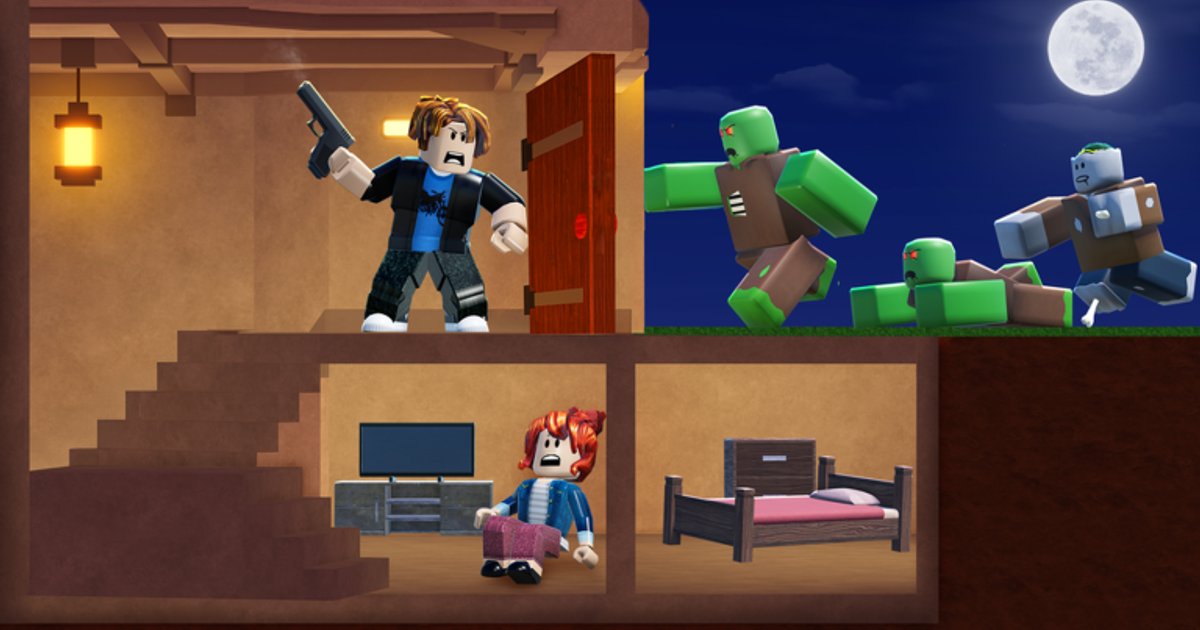
Night waves are where Defend Bunker from Zombies separates prepared bunkers from respawn screens. Bunker Corp! designed the Roblox experience around a strict rhythm: daylight forgives sloppy planning; darkness invoices it with compound zombie waves. This guide focuses on surviving nights — not daytime loot routes (see Resource Management) or construction recipes (Base Building) — though all three must align before the siren sounds.
If you have not redeemed Codes or learned inputs, finish Getting Started and Controls Guide first.
Pre-night non-negotiables
Treat this as a hard gate. Skip any item and waves feel “unfair” when the real issue is preparation.
- Walls cover every lane zombies used last night — repair with wood stockpiled before dusk.
- Traps armed and refueled if your build uses consumable triggers.
- Food buffer — hunger debuffs slow reload and healing; see hunger section in Resource Management.
- Power online — lights reveal fast runners; crafting stations may need fuel through long sieges.
- Ammo / ability cooldowns reset — enter night with kits ready, not mid-craft.
- Survivors assigned to roles that keep production running (Survivors Guide).
Voice or text callouts in multiplayer: confirm “ready check” before triggering optional early night events if your server has them.
Wave structure mindset
Exact spawn tables shift with updates (Updates), but patterns repeat:
Early waves — low HP walkers test wall integrity. Cheap breaches mean bad placement, not bad DPS. Fix chokepoints instead of chasing kills outside walls.
Mid waves — mixed speeds and small elites. This is when hunger and power drain from prolonged fighting hurts most. Keep a player near stoves or generators if your layout allows.
Late waves / boss-style pressure — ability cooldowns matter. Classes like Zeus (confirmed area damage in footage) and Medic (confirmed support) shine here; community favorites like Pyro or Rocketeer depend on your unlocks and aim — cross-check Tier List without treating it as law.
Role assignments for squads
| Role | Job during waves | Best class tendencies |
|---|---|---|
| Anchor | Holds main choke, calls breaches | Soldier, Pyro (community picks) |
| Roamer | Clears leaks, rescues downed allies | Falcon, Astronaut (mobility cited in tier talk) |
| Support | Heals, revives, buffs | Medic (confirmed) |
| Engineer | Repairs walls, retraps | Engineer (community build focus) |
Solo players rotate jobs: fight until a side beeps on minimap or audio cue, repair, return. Do not chase loot during active waves unless the game explicitly allows safe windows.
Positioning fundamentals
High ground inside the bunker beats standing in the yard. Shoulder walls so zombies path into traps and crossfire — learn exact build rules in Base Building.
Do not stack in one corner; splash and flank spawns punish clumping. Spread with line-of-sight overlap instead.
Melee vs ranged — know your class range from Controls Guide. Overextending for style points pulls aggro off walls.
Resource emergencies mid-wave
Out of food: Prioritize ending the wave over greedy kills. Some groups keep emergency rations in a chest near the fight pit — craft during day, not night.
Power failure: Fall back to pre-placed passive traps and audible callouts (“no lights east”). Assign someone to refuel if the loop allows short maintenance windows between sub-waves.
Low wood for repairs: Temporary barricades or player bodies (last resort) hold until dawn. After survival, immediately farm wood routes documented in Resource Management.
Common wipe causes and fixes
| Symptom | Likely cause | Fix next day |
|---|---|---|
| Side breach every night | No wall on that lane | Extend perimeter in Base Building guide |
| Slow deaths over time | Hunger | Earlier farm, food stockpile |
| Random trap failures | No fuel/power | Generator priority |
| Overwhelmed at wave 3+ | Under-trapped choke | Add trap layers |
| Squad wipes together | No Medic/support | Pick Medic or play safer range |
Between nights: recovery loop
Surviving is only half — winning means extracting value from survival:
- Repair all structures while zombies are gone.
- Expand one defensive layer per successful night, not five cosmetic pieces.
- Rescue new survivors when routes are safe.
- Spend Shards from Codes on permanent power, not skins, until nights feel stable.
- Activate Shard potions only when the squad commits to a long session (Shard Rewards).
Advanced coordination
Focus fire callouts — “elite on gate” beats silent tunnel vision.
Ability timing — stack AoE when density peaks, not on single stragglers.
Discord planning — official server ( Links ) finds regular groups who know wave cadence.
Related guides
- Base Building — structures that make nights possible
- Resource Management — hunger and fuel under siege
- Survivors Guide — passive help between waves
- Getting Started — loop overview
Frequently Asked Questions
Quick answers to the most common questions.
What is the hardest part of night waves?
Mid-to-late waves when hunger and power drain stack while elites pressure walls. Preparation before dusk matters more than raw aim.
Do I need Medic to survive multiplayer nights?
Not strictly, but Medic is confirmed in gameplay as support and greatly reduces squad wipes from chip damage and mistakes.
Should I repair walls during a wave?
Only if your layout allows safe repair windows or you have a dedicated builder role. Otherwise finish the sub-wave first.
Why do zombies always break the same wall?
That lane is likely shorter, unreinforced, or off-angle from player fire. Rebuild with traps and a chokepoint there.
Is it worth dying to save a survivor at night?
Usually no during active waves unless the rescue is critical for long-term production. Daytime rescue is safer per Survivors guide.
How do potions help survival?
Shard potions from codes boost meta currency after sessions, not in-run combat. Survive first, then farm Shards with potions during daylight efficiency.